Perfect for Sports Teams
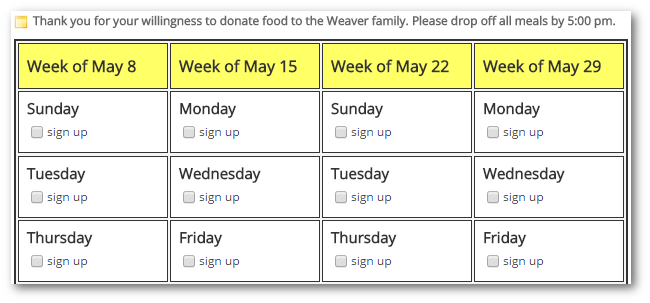
Add your own dates, times and needs.
Customize with team colors.
Volunteer sign ups have never been easier or quicker.
Customize with team colors.
Volunteer sign ups have never been easier or quicker.


Create an online sign up sheet for your group, team, organization or church.
Easily see who has signed up (or hide their names if you prefer).
Allow participants to sign up at any time, not just when a sheet of paper is being passed around. And no more email reply-all!